이미지 resize, crop, thumbnail 등의 처리를 수행하는 파이썬 유틸리티들에 대해 공부합니다.
출처 Image Resizing in Python explained
1. Pillow (PIL)
현재 최신버전은 9.3 이지만 Python 3.11 을 필요로 함 (참고)
- Python 3.7 이상에 대해 Pillow 9.2 를 설치하여 작성함
- 설치
python3 -m pip install -U Pillow
- 설치
1) 메인 코드
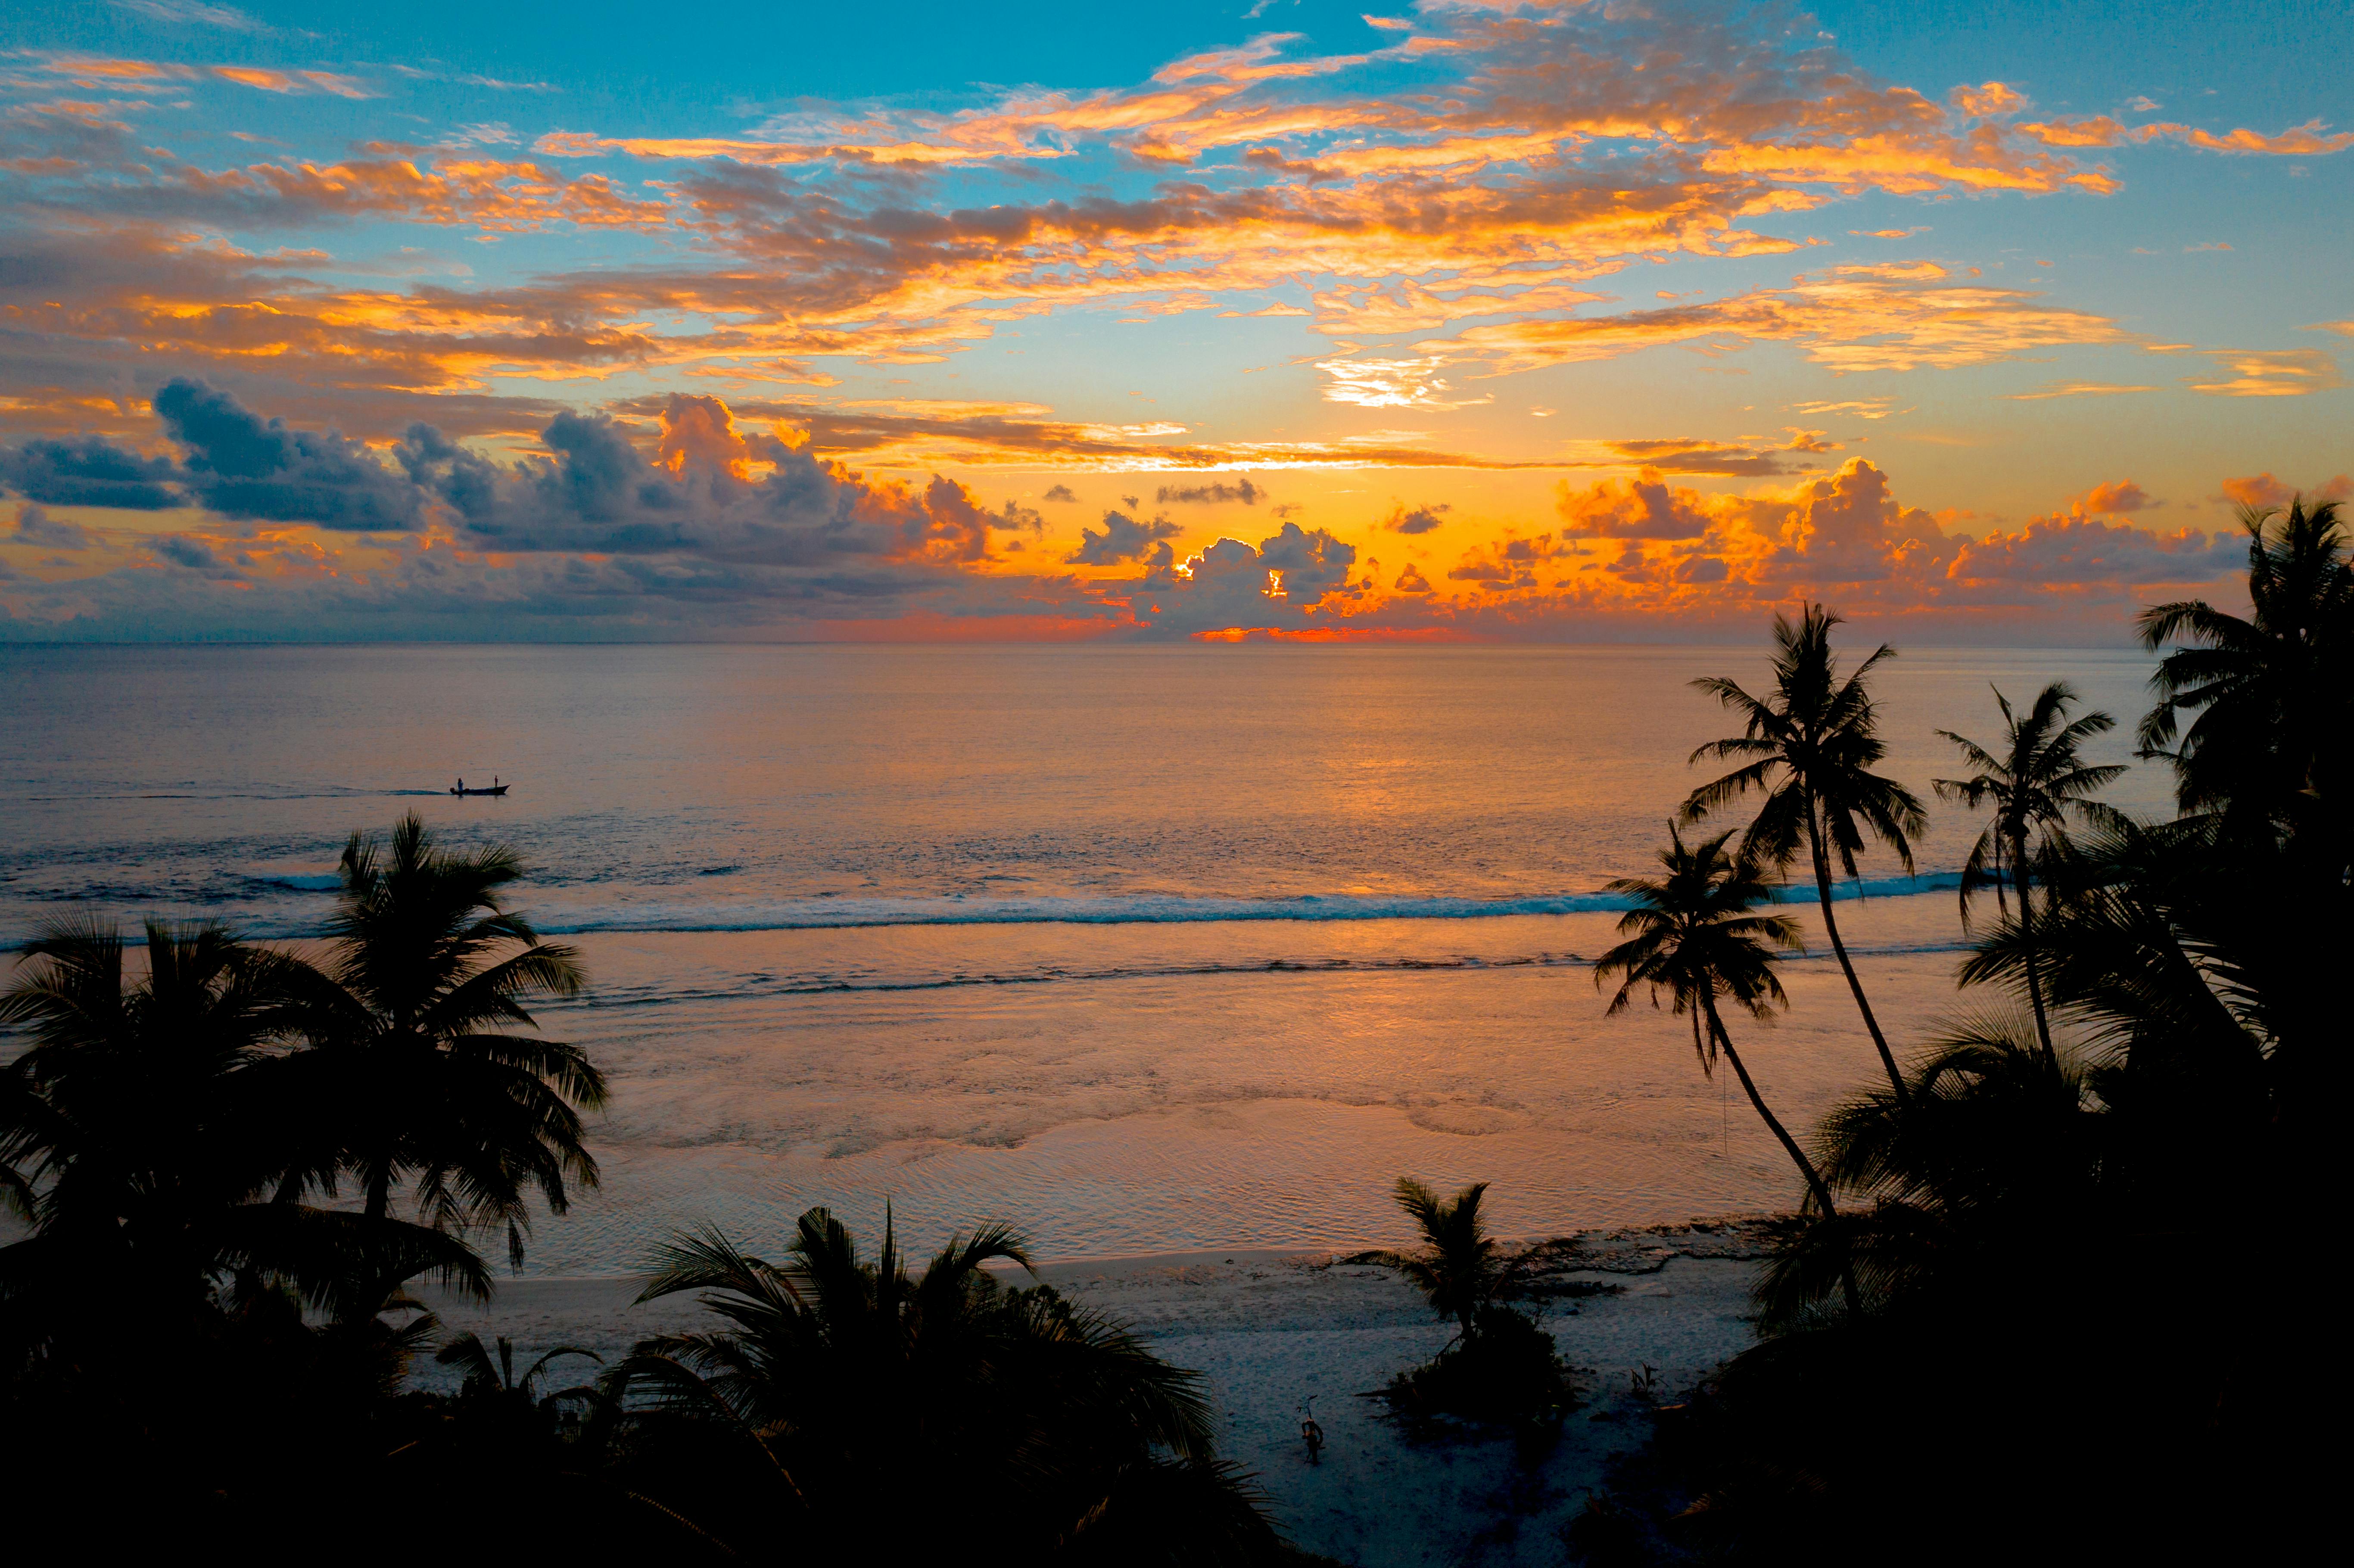
이미지(5464 x 3640) 에 대해 Crop, Resize, Thumbnail 수행
- 이미지를 스트림으로 다운로드
- 이미지 파일명과 현재 크기를 출력
- 옵션과 함께 이미지 작업 수행: Crop, Resize, Thumbnail
- thumbnail 또는 resized 디렉토리에 JPG 포맷으로 저장
- 변경된 이미지 크기를 반환 (실패시 None 반환)
1
2
3
4
5
6
7
8
9
10
11
12
13
14
15
16
17
18
19
20
21
22
23
24
25
26
27
28
29
30
31
32
33
"""
Pillow : resize, crop, thumbnail
"""
from PIL import Image
import glob, os

import requests  # URL 로 이미지 다운로드

image_url = "https://images.pexels.com/photos/3601453/pexels-photo-3601453.jpeg"
im=Image.open(requests.get(image_url, stream=True).raw)

basename = os.path.basename(image_url.lower())
filename, ext = os.path.splitext(basename)
print(f"Original: {filename}{ext} {dict(zip(['w','h'],im.size))}")

# 이미지 작업용 옵션
option = {
    "crop_px": 50,      # 50px 만큼 테두리 잘라내기
    "resize_px": 300,   # 가로 300px 기준으로 줄이기
    "resize_ratio": 50, # 가로, 세로 50% 크기로 줄이기
    "thumbnail": 128,   # 가로, 세로 128px 크기의 섬네일 만들기
}

# Crop
option2 = option | {'crop_px':1000} # 잘라내기 1000px 로 수정
print('Crop', im_crop(im, option2, filename))

# Resize
print('Resize', im_resize(im, option, filename))
print('Resize by ratio', im_resize_ratio(im, option, filename))

# Thumbnail
print('Thumbnail', im_thumbnail(im, option, filename))
2) Image Crop
이미지를 테두리 크기만큼 잘라내고 저장 (작아서 못하면 None)
1
2
3
4
5
6
7
8
9
10
11
12
13
14
def im_crop(im, option, filename):
    try:
        w,h = im.size
        if w<= option["crop_px"]*2 or h<= option["crop_px"]*2:
            print(f"image {im.size} is too small to crop {option['crop_px']}px")
            return None
        box = (option["crop_px"], option["crop_px"], w-option["crop_px"], h-option["crop_px"])
        im = im.crop(box)
        outfile = f"resized/{filename}_w{w-option['crop_px']*2}_crop.jpg"
        im.save(outfile)
    except Exception as e:
        print(e)
        return None
    return im.size
3) Image Resize
리사이즈 크기 px 값은 int 타입이어야 함
1
2
3
4
5
6
7
8
9
10
11
12
13
14
15
16
17
18
19
20
21
22
23
24
25
26
# 옵션의 가로 px 크기로 세로 크기도 조정하여 줄이기
def im_resize(im, option, filename):
    try:
        w,h = im.size
        height = int(option["resize_px"] / w * h)
        im = im.resize((option["resize_px"],height,), Image.Resampling.LANCZOS)
        outfile = f"resized/{filename}_w{option['resize_px']}_px.jpg"
        im.save(outfile)
    except Exception as e:
        print(e)
        return None
    return im.size

# 옵션의 비율 크기로 가로, 세로 크기를 조정하여 줄이기
def im_resize_ratio(im, option, filename):
    try:
        w,h = im.size
        width = int(w * option["resize_ratio"] / 100)
        height = int(h * option["resize_ratio"] / 100)
        im = im.resize((width,height,), Image.Resampling.LANCZOS)
        outfile = f"resized/{filename}_w{width}_ratio.jpg"
        im.save(outfile)
    except Exception as e:
        print(e)
        return None
    return im.size
4) Image Thumbnail
가로, 세로 크기를 동일하게 crop 한 뒤에 thumbnail 생성
- 변경된 im 개체를 im 변수로 다시 받아서 작업 연결
- thumbnail 은 im 개체를 반환하지 않는다 (crop/resize 와 다름)
1
2
3
4
5
6
7
8
9
10
11
12
13
14
15
def im_thumbnail(im, option: dict, filename):
    try:
        w,h = im.size
        if w != h:
            gap = max(w,h)-min(w,h)
            box = (gap//2, 0, w-(gap//2+gap%2), h) if w > h else (0, gap//2, w, h-(gap//2+gap%2))
            im = im.crop(box)
            print(f"after crop: {w},{h} with {gap//2} => {box} {im.size}")
        im.thumbnail((option["thumbnail"],option["thumbnail"]), Image.Resampling.LANCZOS)
        outfile = f"thumbnail/{filename}_w{option['thumbnail']}.jpg"
        im.save(outfile)
    except Exception as e:
        print(e)
        return None
    return im.size
5) Image Save with Quality, Optimize
Image 정보
1
2
3
4
5
6
7
8
9
10
11
12
13
14
15
16
from PIL import Image

im = Image.open('img/fiber.png')
print(type(im))  # <class 'PIL.PngImagePlugin.PngImageFile'>
im.show()        # 기본 이미지 애플리케이션 실행

print(f'{im.filename}')  # img/fiber.png
print(f'{im.format}')    # PNG
print(f'{im.mode}')      # RGBA
print(f'{im.size}')      # (1024, 600)
print(f'{im.width}')     # 1024
print(f'{im.height}')    # 600

# DPI 정보는 없다
print(f'{[k for k in img.info ]}')
# ==> ['srgb', 'exif', 'XML:com.adobe.xmp']
썸네일 이미지 저장
품질 100 인 경우, 90 품질의 2배 이상 (원본보다 큰) 크기로 저장
- 90 품질 저장 : 조금 더 큰 사이즈, ex) 5kb (100% 품질 11kb)
- 90 품질 & 최적화 저장 : 중간 사이즈, ex) 4kb
- 기본 저장 : 가장 파일 사이즈가 작다, ex) 3kb
1
2
3
4
5
6
7
8
9
10
11
12
13
size = 128, 128
quality = 90
with Image.open(infile) as im:
    basename = os.path.basename(file.lower())
    outfile0 = f"thumbnail/{basename}_w{size[0]}.png"
    print(infile,'=>',outfile2)

    # 썸네일
    im.thumbnail(size, Image.Resampling.LANCZOS)

    im.save(outfile0, "JPEG")
    im.save(outfile1, "JPEG", quality = quality)
    im.save(outfile2, "JPEG", quality = quality, optimize=True)
2. OpenCV
OpenCV 는 얼굴인식, 픽셀변환, 3D 모델링 등의 복잡한 이미지 처리에 사용되는 업계 표준 라이브러리. (이미지 처리의 기본이다)
- 설치
Python3 -m pip install opencv-Python- 최신 버전 4.6.0.66 (2022년 6월 7일)
- 참고 : OpenCV-Python Study documentation! (한글)
- 영문 페이지가 아니라 한글이 나옴 (원문은 링크가 없어진듯)
- Python 버전 OpenCV 설명문은 이 문서가 유일한듯. 못찾겠다.
1) URL 이미지를 requests 다운로드하여 읽기
- requests 의 Response 를 bytes 형태로 read 한 후에 사용 가능
- cv2 는 이미지 처리를 행렬 연산으로 하기 때문에 numpy array 필요
- ex)
img[100,100]=>[154 131 45](RGB)
- ex)
- cv2 의 이미지 크기는 numpy 의 shape 형태로 출력
- shape = (height, width, dimension), dimension=RGB (3차원)
1
2
3
4
5
6
7
8
9
10
import requests
import cv2 as cv2
import numpy as np

image_url = "https://images.pexels.com/photos/3601453/pexels-photo-3601453.jpeg"
img_bytes = bytearray(requests.get(image_url, stream=True).raw.read())
img_array = np.array(img_bytes, dtype=np.uint8)
img = cv2.imdecode(img_array, -1)
print(img.shape)     # (3640, 5464, 3)
print(img[100,100])  # [154 131  45]
2) Resize
- cv2 리사이즈 파일 크기 989kb
- Pillow 리사이즈 95% 품질 크기(935kb)와 비슷
1
2
3
4
5
6
7
8
9
10
11
12
13
import cv2

print(f"Original Dimensions : {img.shape}")
# Original Dimensions : (3640, 5464, 3)

# resize image by specifying custom width and height
resized = cv2.resize(img, (2000, 1500))

# shape = (height, width, dimension), dimension=RGB (3차원)
print(f"Resized Dimensions : {resized.shape}")
# Resized Dimensions : (1500, 2000, 3)

cv2.imwrite(f'resized_imaged_w{resized.shape[1]}.jpg', resized)
3) Crop
이미지 3차원 행렬이라 바로 slice 처리하여 잘라낸다.
1
2
3
4
# image[startY:endY, startX:endX]
cropped_image = img[0:3640, 0:2732]
cv2.imwrite('cropped-image-opencv.jpg', cropped_image)
print(f"Cropped Image Dimensions : {cropped_image.shape}") # 2732x3640
3. ImageKit.io 의 ImageKit 사용하기
이미지 최적화 서비스인데 무료 버전으로도 여러가지를 할 수 있는듯
1) API 서비스
- 이미지를 imagekit.io 에 올리고 (사용자 계정)
- 파라미터와 함께 API 를 호출하면 됨 (끝!)
- 웹사이트에 API 를 연결하면 쉽다 (별도의 백엔드 필요없음)
- 물론 용량과 사용량이 커지면 유료버전을 구독해야 함
1
2
3
4
5
6
7
8
# 업로드된 이미지 (원본 이미지)
https://ik.imagekit.io/{your_imagekit_id}/default-image.jpg

# 리사이징 width=300, height=300
https://ik.imagekit.io/{your_imagekit_id}/default-image.jpg?tr=w-300,h-300

# 품질 50% 변환
https://ik.imagekit.io/{your_imagekit_id}/default-image.jpg?tr=q-50
2) Python 라이브러리 설정
설치 pip install imagekitio
1
2
3
4
5
6
7
from imagekitio import ImageKit

imagekit = ImageKit(
    private_key='your_private_key',
    public_key='your_public_key',
    url_endpoint='your_url_endpoint'
)
9. Review
- 일단 업로드. 내일 마져 수정하자.
- 이것보다는 AWS Lambda 에서 Pillow 사용하기를 해봐야지
끝! 읽어주셔서 감사합니다.